| InkTracer Manual | ||
|
Full mode
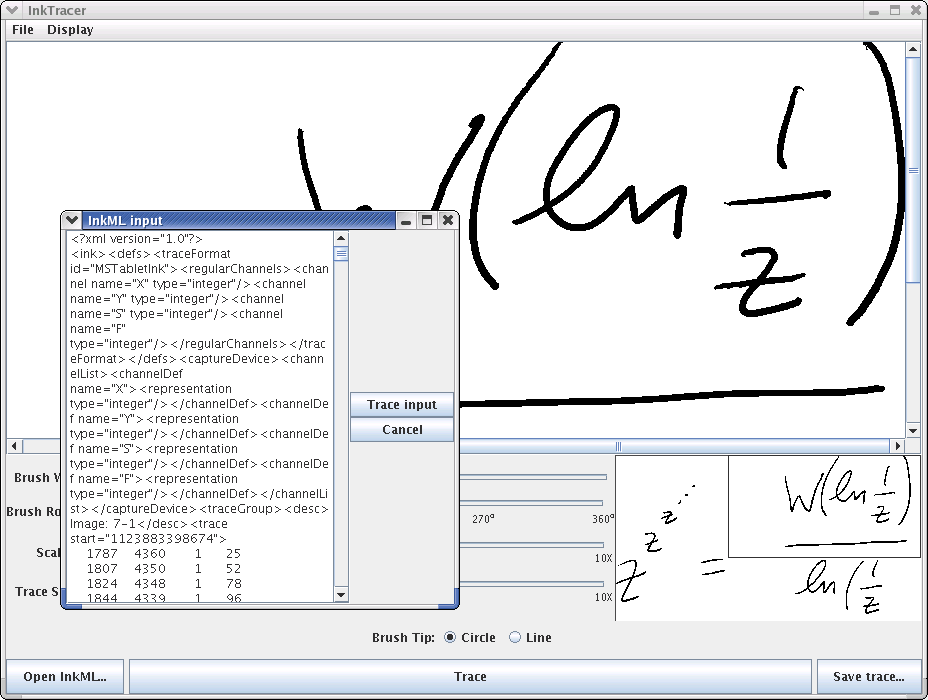
Full mode can be invoked by using the command: While in full mode the user has the ability to animate inkML files, adjust brush styles and render the animation as an animated .gif image. Opening and animating an inkML file In order to animate any inkML file, it must first be input to InkTracer. This can be done in two different ways:
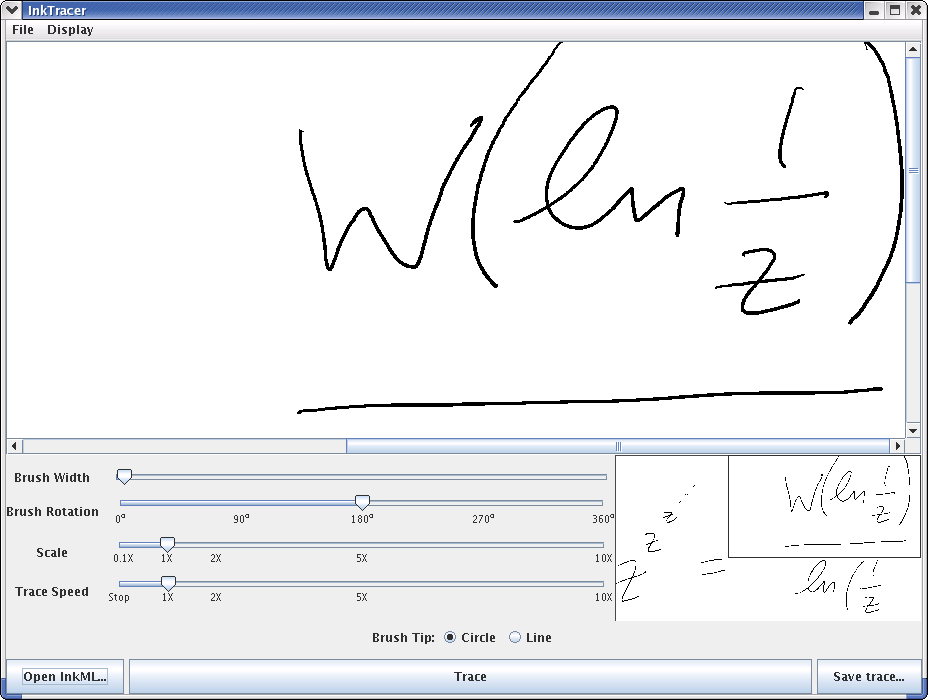
Note that the "Trace" and "Save trace..." buttons are unavailable until a valid inkML file has been loaded. Once an inkML file has been loaded, it can be animated using the "Trace" button at the bottom of the screen (or the "Trace" option in the file menu). At any time after a trace has started it can be restarted by pressing the "Trace" button. During each trace the image navigator pane in the bottom right corner can be used to track changes to the image. The pane is a scaled version of the entire image. The rectangle visible in the pane represents the area currently being displayed. As the user adjusts the scale and location of the viewing window the image navigator will automatically adjust to aid the user in viewing the animation. Saving a trace as a static or animated GIF image Once an inkML file has been loaded it can also be rendered as an animated GIF using the "Save trace..." button located at the lower-left corner of the window or using the "Save trace as an animated GIF..." command in the file menu. The finished trace can be saved as a static GIF using the "Save trace as static GIF..." command in the file menu. Observe that before a trace is saved it may be necessary to scale the image to a smaller size due to constraints on the compression mechanism. In order to maintain the integrity of the produced GIF image some controls may become unavailable to the user when saving an image as an animated GIF. While users may alter the attributes of the brush, users may not use the "Open InkML...", "Trace", and "Save trace.. " buttons while the GIF is being rendered. Changing brush styles The user is free to change the attributes of the brush at any time, even while the trace is in progress. Editable brush attributes include
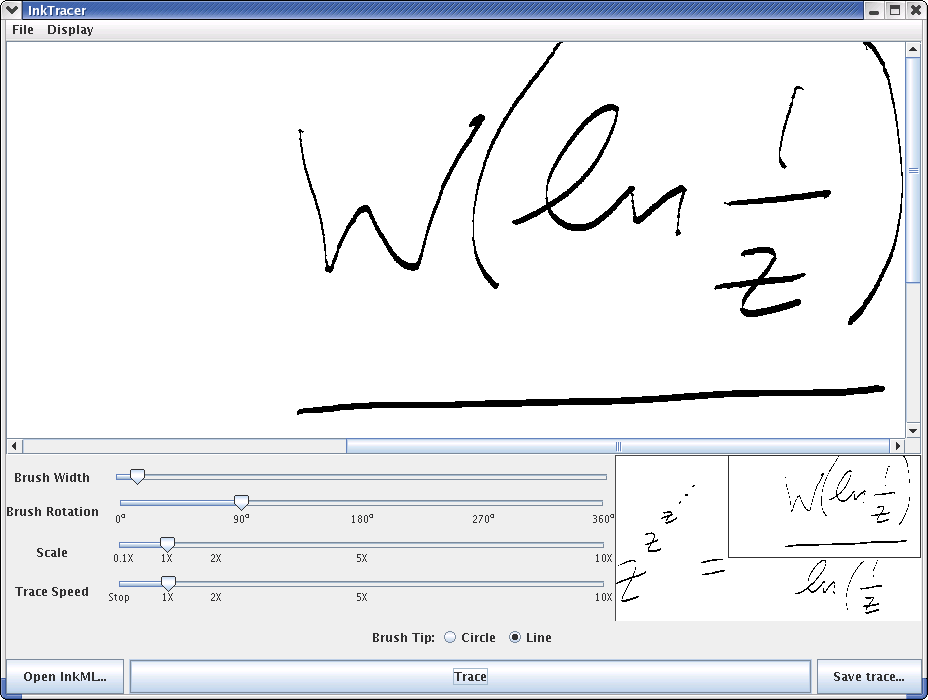
Brush width and rotation can be changed using the sliders on the main page. In order to adjust the brush width, move the slider to the desired location. Note that at any given brush thickness, the width of each stroke may vary. This variation is due to the pressure indicated by the inkML file. The brush tip can be switched between a circle (essentially the equivalent to a ball-point pen) and a line (equivalent to a chisel-tip or a calligraphic pen) by clicking on the appropriate radio button. Note that brush rotation has no effect when using a circle tip (a circle rotated 90o is the same as the original circle), but can produce very different results when using the line tip. Below is a trace performed with a line-tipped brush held at 90 degrees.
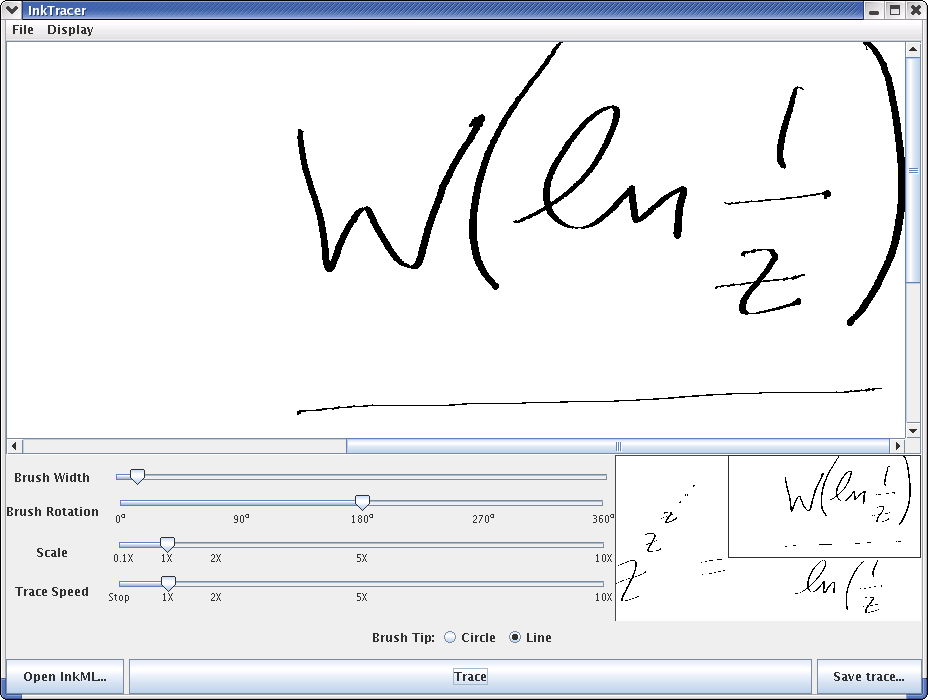
Here is the same trace performed with a line-tipped brush held at 180 degrees (note that the brush width has not been changed).
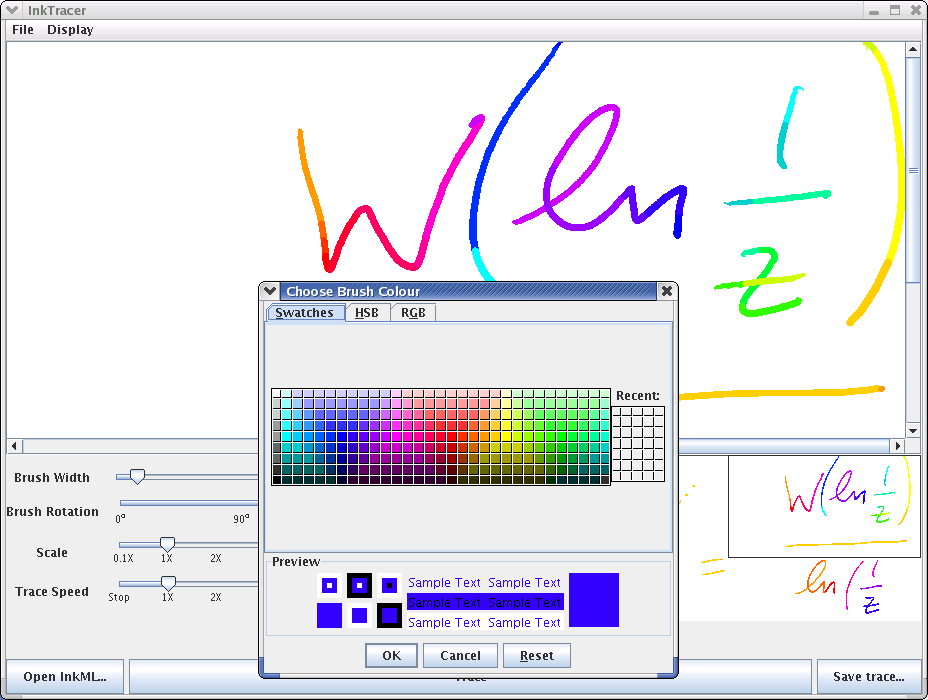
To change the colour of the brush, select the "Set brush colour..." option from the "Display" menu.
|